Description
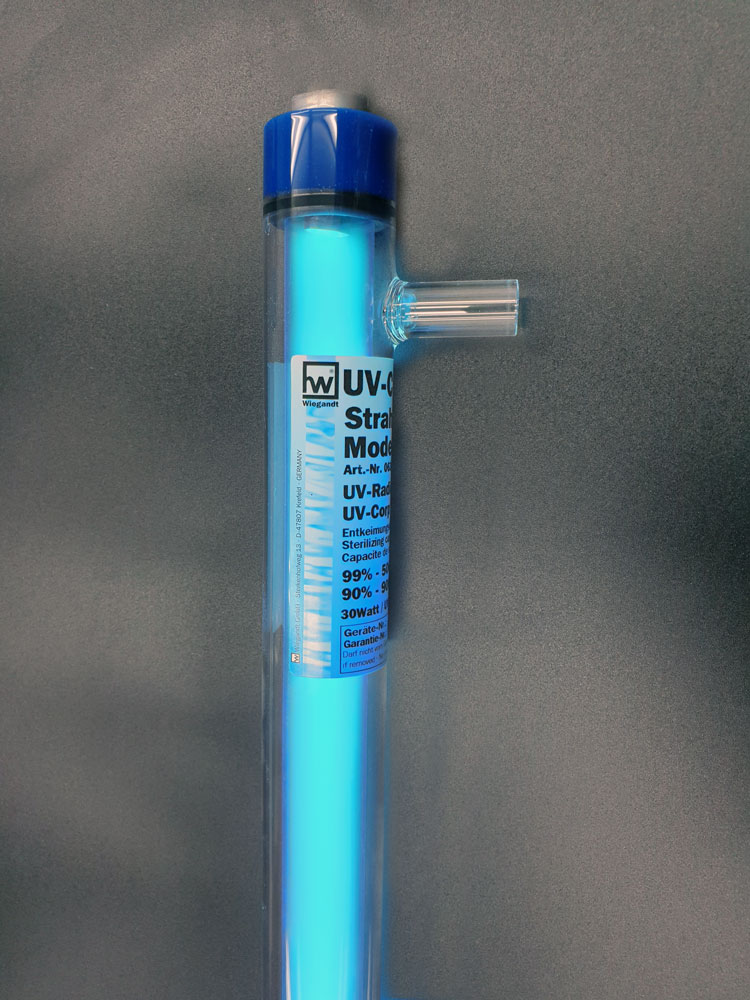
hw®-UV-Replacement lamp model 2000 for hw®-UV-Watersterilizer model 2000 (36 Watt)
This replacement part is a tightly sealed UV-C-lamp / glass jacket unit for your hw®-UV-Water sterilizer model 2000 (36 Watt). After replacing this unit, your hw®-UV-Watersterilizer will again correspond to a new device in terms of performance.
The UV-lamp is a wearing part and should be replaced after about 10.000-12.000 operating hours at the latest, since although after this time visible light is frequently still emitted, there is only a very small part effective radiation. If your device is still one equipped with a starter, please also change this starter to protect the UV-lamp when changing the hw®-UV-Replacement lamp model 2000.
Replacing the hw®-UV-Replacement lamp model 2000 in the splash-proof hw®-UV-Watersterilizer model 2000 (36 Watt), degree of protection IP 64:
- Disconnect the mains plug and after this remove the hoses from the unit.
- To open the unit, it is best to place it flat on a table. Fully unscrew both screws located at the top on the side of the unit. The complete head piece can now be removed from the plastic tube and glass part. When doing this, ensure that no cable is disconnected.
- Remove the cable plug from the burner contacts. Carefully withdraw the glass part from the lower base. The old glass part can be removed after disconnecting the cable plug.
- (For units with conventional ballast and equipped with STARTER:
The starter holder is located easily accessible in the upper part of the plastic tube for easy replacement.) - Fit the new glass part in reverse order; the polarity of the plug is in this case irrelevant.
- To make insertion of the glass part easier, it is recommended to thinly apply some Vaseline to the ends of the glass part.
- To remove any compressed air in the unit, the pressure between the sealing ring and glass body can removed with a tooth pick or similar implement.
In the interests of electrical safety, under no circumstances the sealing rings should be removed!


